
Page 48 - CC 2019 ID Look Inside
P. 48
4. In the General tab, choose Art in the Crop To menu.
You can use the Preview area on
the left to determine which page/
artboard you want to place.
The Crop To menu determines
what part of the file will be placed:
• Bounding Box places the
file based on the minimum
area enclosing the objects
on the page. You can also Note:
choose to include all layers or only visible layers in the calculation.
• Art uses the outermost dimensions of artwork in the file. If Crop, Trim, or Bleed
• Crop uses a crop area defined in the file. is not defined in a file,
the file will be placed
• Trim uses trim marks defined in the file.
based on the defined
• Bleed uses the defined bleed area in the file. artboard size.
• Media uses the physical size at which a PDF file was created.
When Transparent Background is checked, background objects in the InDesign layout
show through empty areas of the placed file. If this option is not checked, empty areas
of the placed file knock out underlying objects.
5. Click the Layers tab to display those options.
PDF and native Illustrator files can
include multiple layers. You can
determine which layers to display in
the placed file by toggling the eye
icons on or off in the Show Layers
list. In the Update Link Options
menu, you can determine what
happens when/if you update the link
to the placed file.
• Keep Layer Visibility Overrides maintains your choices regarding which layers
are visible in the InDesign layout.
• Use PDF’s Layer Visibility restores the layer status as saved in the placed file.
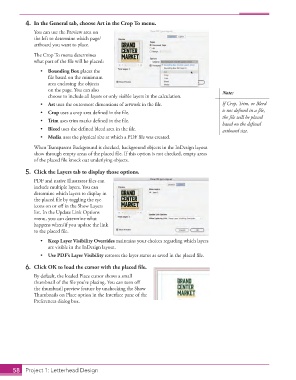
6. Click OK to load the cursor with the placed file.
By default, the loaded Place cursor shows a small
thumbnail of the file you’re placing. You can turn off
the thumbnail preview feature by unchecking the Show
Thumbnails on Place option in the Interface pane of the
Preferences dialog box.
58 Project 1: Letterhead Design