


Page 24 - CC2017_WD_Look_Inside
P. 24
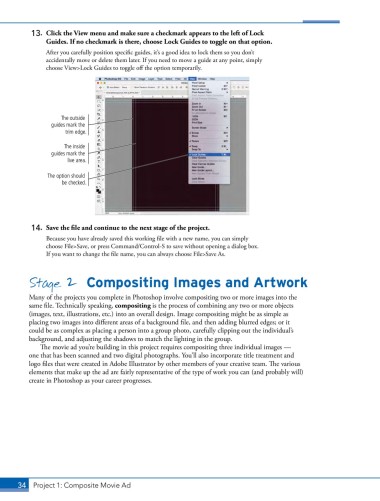
13.  Click the View menu and make sure a checkmark appears to the left of Lock
               Guides. If no checkmark is there, choose Lock Guides to toggle on that option.

               After you carefully position specific guides, it’s a good idea to lock them so you don’t
               accidentally move or delete them later. If you need to move a guide at any point, simply
               choose View>Lock Guides to toggle off the option temporarily.


                    The outside
                 guides mark the
                     trim edge.

                     The inside
                 guides mark the
                      live area.

                The option should
                    be checked.


           14.  Save the file and continue to the next stage of the project.
               Because you have already saved this working file with a new name, you can simply
               choose File>Save, or press Command/Control-S to save without opening a dialog box.
               If you want to change the file name, you can always choose File>Save As.


          Stage 2  Compositing Images and Artwork

          Many of the projects you complete in Photoshop involve compositing two or more images into the
          same file. Technically speaking, compositing is the process of combining any two or more objects
          (images, text, illustrations, etc.) into an overall design. Image compositing might be as simple as
          placing two images into different areas of a background file, and then adding blurred edges; or it
          could be as complex as placing a person into a group photo, carefully clipping out the individual’s
          background, and adjusting the shadows to match the lighting in the group.
              The movie ad you’re building in this project requires compositing three individual images —
          one that has been scanned and two digital photographs. You’ll also incorporate title treatment and
          logo files that were created in Adobe Illustrator by other members of your creative team. The various
          elements that make up the ad are fairly representative of the type of work you can (and probably will)
          create in Photoshop as your career progresses.


       34 Project 1: Composite Movie Ad

