


Page 20 - CC2017_WD_Look_Inside
P. 20
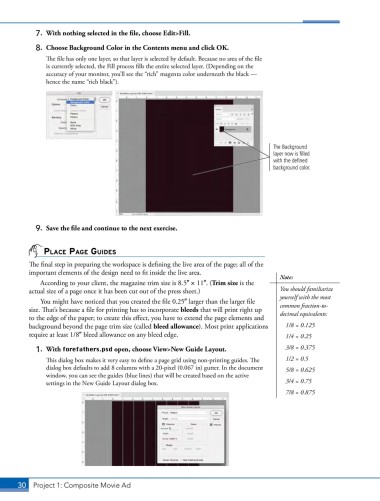
7. With nothing selected in the file, choose Edit>Fill.
8. Choose Background Color in the Contents menu and click OK.
The file has only one layer, so that layer is selected by default. Because no area of the file
is currently selected, the Fill process fills the entire selected layer. (Depending on the
accuracy of your monitor, you’ll see the “rich” magenta color underneath the black —
hence the name “rich black”).
The Background
layer now is filled
with the defined
background color.
9. Save the file and continue to the next exercise.
plACe pAge guides
The final step in preparing the workspace is defining the live area of the page; all of the
important elements of the design need to fit inside the live area.
Note:
According to your client, the magazine trim size is 8.5 1 11. (Trim size is the
actual size of a page once it has been cut out of the press sheet.) You should familiarize
You might have noticed that you created the file 0.25 larger than the larger file yourself with the most
size. That’s because a file for printing has to incorporate bleeds that will print right up common fraction-to-
to the edge of the paper; to create this effect, you have to extend the page elements and decimal equivalents:
background beyond the page trim size (called bleed allowance). Most print applications 1/8 = 0.125
require at least 1/8 bleed allowance on any bleed edge. 1/4 = 0.25
1. With forefathers.psd open, choose View>New Guide Layout. 3/8 = 0.375
This dialog box makes it very easy to define a page grid using non-printing guides. The 1/2 = 0.5
dialog box defaults to add 8 columns with a 20-pixel (0.067 in) gutter. In the document 5/8 = 0.625
window, you can see the guides (blue lines) that will be created based on the active
settings in the New Guide Layout dialog box. 3/4 = 0.75
7/8 = 0.875
30 Project 1: Composite Movie Ad

