Page 65 - Adobe Photoshop and Dreamviewer 2021
P. 65

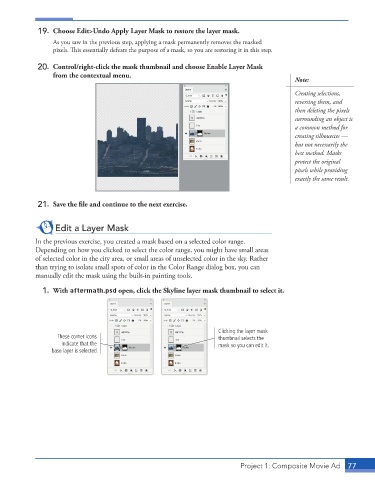
19.  Choose Edit>Undo Apply Layer Mask to restore the layer mask.
                 As you saw in the previous step, applying a mask permanently removes the masked
                 pixels. This essentially defeats the purpose of a mask, so you are restoring it in this step.

             20.  Control/right-click the mask thumbnail and choose Enable Layer Mask
                 from the contextual menu.
                                                                                           Note:
                                                                                           Creating selections,
                                                                                           reversing them, and
                                                                                           then deleting the pixels
                                                                                           surrounding an object is
                                                                                           a common method for
                                                                                           creating silhouettes —
                                                                                           but not necessarily the
                                                                                           best method. Masks
                                                                                           protect the original
                                                                                           pixels while providing
                                                                                           exactly the same result.


             21.  Save the file and continue to the next exercise.


                  Edit a Layer Mask

            In the previous exercise, you created a mask based on a selected color range.
            Depending on how you clicked to select the color range, you might have small areas
            of selected color in the city area, or small areas of unselected color in the sky. Rather
            than trying to isolate small spots of color in the Color Range dialog box, you can
            manually edit the mask using the built-in painting tools.
              1.  With aftermath.psd open, click the Skyline layer mask thumbnail to select it.


                                                                    Clicking the layer mask
                   These corner icons                               thumbnail selects the
                    indicate that the                               mask so you can edit it.
                 base layer is selected.


                                                                          Project 1: Composite Movie Ad    77
   60   61   62   63   64   65   66   67   68   69   70