


Page 54 - CC2017_WD_Look_Inside
P. 54
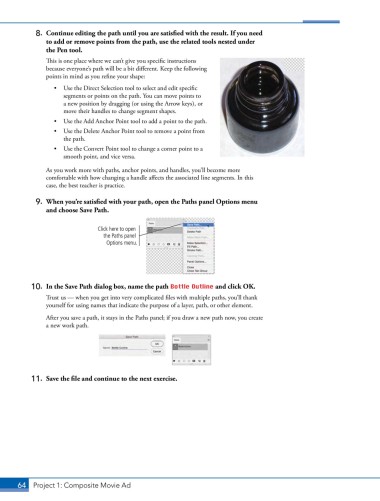
8.  Continue editing the path until you are satisfied with the result. If you need
               to add or remove points from the path, use the related tools nested under
               the Pen tool.
               This is one place where we can’t give you specific instructions
               because everyone’s path will be a bit different. Keep the following
               points in mind as you refine your shape:
                  •  Use the Direct Selection tool to select and edit specific
                     segments or points on the path. You can move points to
                     a new position by dragging (or using the Arrow keys), or
                     move their handles to change segment shapes.
                  •  Use the Add Anchor Point tool to add a point to the path.
                  •  Use the Delete Anchor Point tool to remove a point from
                     the path.
                  •  Use the Convert Point tool to change a corner point to a
                     smooth point, and vice versa.
               As you work more with paths, anchor points, and handles, you’ll become more
               comfortable with how changing a handle affects the associated line segments. In this
               case, the best teacher is practice.


            9.  When you’re satisfied with your path, open the Paths panel Options menu
               and choose Save Path.


                                Click here to open
                                 the Paths panel
                                  Options menu.


           10.  In the Save Path dialog box, name the path Bottle Outline and click OK.
               Trust us — when you get into very complicated files with multiple paths, you’ll thank
               yourself for using names that indicate the purpose of a layer, path, or other element.
               After you save a path, it stays in the Paths panel; if you draw a new path now, you create
               a new work path.


           11.  Save the file and continue to the next exercise.


       64 Project 1: Composite Movie Ad

