


Page 42 - CS6_DW_Look_Inside
P. 42
Stage 4	 Making	Files	Public

          To complete the final stage of this project — making your files accessible to the browsing public —
          you need to have access to some type of server.
              On the inside back cover of this book, you have a code that you need to gain access to the
          required resource files. The same code also provides access to a six-month, free trial Web hosting
          account at Pair Networks (www.pair.com).
              If you don’t already have access to an online server, go to www.pair.com/atc/ to sign up for your
          hosting account before you complete the final stage of this project. You must enter your contact
          information, and the code from the inside
          back cover of your book. You should then
          define a user name in the last field; this will
          become part of the server name for your
          hosting account.
              After you click Continue, you will
          receive an acknowledgement that your
          request is being processed.
              The resulting message warns that the
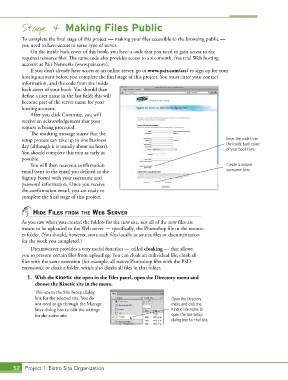
          setup process can take up to one business                                           Enter the code from
          day (although it is usually about an hour).                                         the inside back cover
                                                                                              of your book here.
          You should complete this step as early as
          possible.
              You will then receive a confirmation                                            Create a unique
          email (sent to the email you defined in the                                         username here.
          Signup Form) with your username and
          password information. Once you receive
          the confirmation email, you are ready to
          complete the final stage of this project.


               hide files from the web server
          As you saw when you created the folders for the new site, not all of the new files are
          meant to be uploaded to the Web server — specifically, the Photoshop file in the resourc-
          es folder. (You should, however, store such files locally as source files or documentation
          for the work you completed.)
              Dreamweaver provides a very useful function — called cloaking — that allows
          you to prevent certain files from uploading. You can cloak an individual file; cloak all
          files with the same extension (for example, all native Photoshop files with the PSD
          extension); or cloak a folder, which also cloaks all files in that folder.

            1.  With the Kinetic site open in the Files panel, open the Directory menu and
               choose the Kinetic site in the menu.
               This opens the Site Setup dialog
               box for the selected site. You do                        Open the Directory
               not need to go through the Manage                        menu and click the
               Sites dialog box to edit the settings                    Kinetic site name to
               for the active site.                                     open the Site Setup
                                                                        dialog box for that site.


       52 Project 1: Bistro Site Organization

