


Page 51 - CS6_GD_Look_Inside.pdf
P. 51
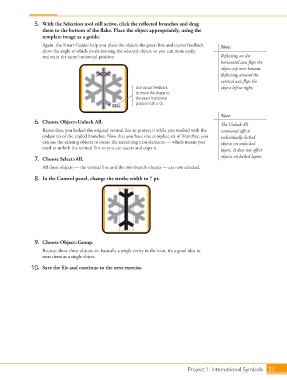
5.  With the Selection tool still active, click the reflected branches and drag
                        them to the bottom of the flake. Place the object appropriately, using the
                        template image as a guide.
                        Again, the Smart Guides help you place the object; the green line and cursor feedback   Note:
                        show the angle at which you’re moving the selected object, so you can more easily
                        maintain the same horizontal position.                                   Reflecting on the
                                                                                                 horizontal axis flips the
                                                                                                 object top over bottom.
                                                                                                 Reflecting around the
                                                                                                 vertical axis flips the
                                                              Use cursor feedback                object left to right.
                                                              to move the shape to
                                                              the exact horizontal
                                                              position (dX = 0).

                                                                                                 Note:
                    6.  Choose Object>Unlock All.                                                The Unlock All
                        Remember, you locked the original vertical line to protect it while you worked with the   command affects
                        endpoints of the angled branches. Now that you have one complete set of branches, you   individually locked
                        can use the existing objects to create the remaining icon elements — which means you   objects on unlocked
                        need to unlock the vertical line so you can access and copy it.          layers. It does not affect

                    7.  Choose Select>All.                                                       objects on locked layers.
                        All three objects — the vertical line and the two branch objects — are now selected.

                    8.  In the Control panel, change the stroke width to 7 pt.


                    9.  Choose Object>Group.

                        Because these three objects are basically a single entity in the icon, it’s a good idea to
                        treat them as a single object.

                   10.  Save the file and continue to the next exercise.


                                                                                   Project 1: International Symbols  71

