


Page 53 - CS6_GD_Look_Inside.pdf
P. 53
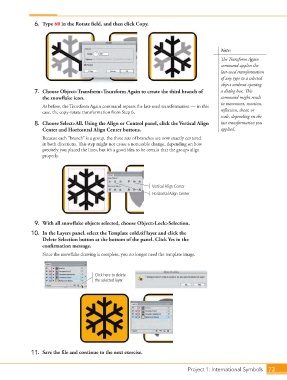
6.  Type 60 in the Rotate field, and then click Copy.


                                                                                                 Note:

                                                                                                 The Transform Again
                                                                                                 command applies the
                                                                                                 last-used transformation
                                                                                                 of any type to a selected

                                                                                                 object without opening
                    7.  Choose Object>Transform>Transform Again to create the third branch of    a dialog box. This
                        the snowflake icon.                                                      command might result
                                                                                                 in movement, rotation,
                        As before, the Transform Again command repeats the last-used transformation — in this
                        case, the copy-rotate transformation from Step 6.                        reflection, shear, or
                                                                                                 scale, depending on the
                    8.  Choose Select>All. Using the Align or Control panel, click the Vertical Align   last transformation you
                        Center and Horizontal Align Center buttons.                              applied.
                        Because each “branch” is a group, the three sets of branches are now exactly centered
                        in both directions. This step might not cause a noticeable change, depending on how
                        precisely you placed the lines, but it’s a good idea to be certain that the groups align
                        properly.


                                                                     Vertical Align Center
                                                                     Horizontal Align Center


                    9.  With all snowflake objects selected, choose Object>Lock>Selection.
                   10.  In the Layers panel, select the Template cold.tif layer and click the
                        Delete Selection button at the bottom of the panel. Click Yes in the
                        confirmation message.

                        Since the snowflake drawing is complete, you no longer need the template image.


                                             Click here to delete
                                             the selected layer.


                   11.  Save the file and continue to the next exercise.


                                                                                   Project 1: International Symbols  73

