


Page 44 - CC2017_PS_Look_Inside
P. 44
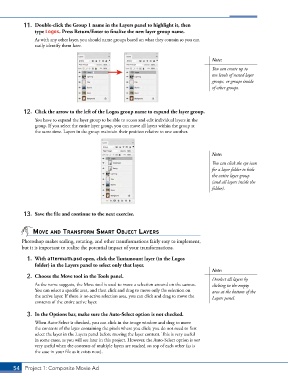
11.  Double-click the Group 1 name in the Layers panel to highlight it, then
               type Logos. Press Return/Enter to finalize the new layer group name.

               As with any other layer, you should name groups based on what they contain so you can
               easily identify them later.


                                                                                        Note:
                                                                                        You can create up to
                                                                                        ten levels of nested layer
                                                                                        groups, or groups inside
                                                                                        of other groups.


           12.  Click the arrow to the left of the Logos group name to expand the layer group.
               You have to expand the layer group to be able to access and edit individual layers in the
               group. If you select the entire layer group, you can move all layers within the group at
               the same time. Layers in the group maintain their position relative to one another.


                                                                                        Note:
                                                                                        You can click the eye icon
                                                                                        for a layer folder to hide
                                                                                        the entire layer group
                                                                                        (and all layers inside the
                                                                                        folder).


           13.  Save the file and continue to the next exercise.


               moVe And trAnsForm smArt objeCt lAyers
          Photoshop makes scaling, rotating, and other transformations fairly easy to implement,
          but it is important to realize the potential impact of your transformations.

            1.  With aftermath.psd open, click the Tantamount layer (in the Logos
               folder) in the Layers panel to select only that layer.
                                                                                        Note:
            2.  Choose the Move tool in the Tools panel.
                                                                                        Deselect all layers by
               As the name suggests, the Move tool is used to move a selection around on the canvas.   clicking in the empty
               You can select a specific area, and then click and drag to move only the selection on   area at the bottom of the
               the active layer. If there is no active selection area, you can click and drag to move the   Layers panel.
               contents of the entire active layer.

            3.  In the Options bar, make sure the Auto-Select option is not checked.
               When Auto-Select is checked, you can click in the image window and drag to move
               the contents of the layer containing the pixels where you click; you do not need to first
               select the layer in the Layers panel before moving the layer content. This is very useful
               in some cases, as you will see later in this project. However, the Auto-Select option is not
               very useful when the contents of multiple layers are stacked on top of each other (as is
               the case in your file as it exists now).


       54 Project 1: Composite Movie Ad

