


Page 41 - CC2018_DW_Look_Inside
P. 41
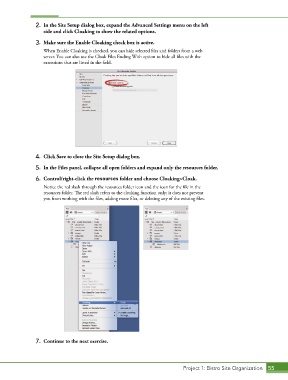
2.  In the Site Setup dialog box, expand the Advanced Settings menu on the left
                   side and click Cloaking to show the related options.

                3.  Make sure the Enable Cloaking check box is active.
                   When Enable Cloaking is checked, you can hide selected files and folders from a web
                   server. You can also use the Cloak Files Ending With option to hide all files with the
                   extensions that are listed in the field.


                4.  Click Save to close the Site Setup dialog box.
                5.  In the Files panel, collapse all open folders and expand only the resources folder.

                6.  Control/right-click the resources folder and choose Cloaking>Cloak.
                   Notice the red slash through the resources folder icon and the icon for the file in the
                   resources folder. The red slash refers to the cloaking function only; it does not prevent
                   you from working with the files, adding more files, or deleting any of the existing files.


                7.  Continue to the next exercise.


                                                                             Project 1: Bistro Site Organization  55

