


Page 40 - CC2018_DW_Look_Inside
P. 40
14.  Open about.html. Using either the Code pane or the Document Title field in the
               Properties panel, add Hours of Operation to the end of the existing page title.


           15.  Save about.html and close it.

           16.  Repeat this process (Steps 14–15) to change the page titles of the remaining
               pages as follows:
                    File                         Title
                    contact.html                 Address and Contact Information
                    events.html                  Special Event Facilities
                    menus/dinner-menu.html       Dinner Menu

                    menus/lunch-menu.html        Lunch Menu

           17.  Continue to the next exercise.


               hide files from the web server

          As you saw when you created the folders for the new site, not all of the new files are
          meant to be uploaded to the web server — specifically, the Photoshop file in the resourc-
          es folder. (You should, however, store such files locally as source files or documentation
          for the work you completed.) Dreamweaver provides a very useful function — called
          cloaking — that allows you to prevent certain files from uploading. You can cloak an
          individual file; cloak all files with the same extension (for example, all native Photoshop
          files with the PSD extension); or cloak a folder, which also cloaks all files in that folder.

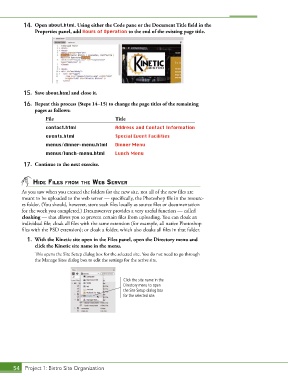
            1.  With the Kinetic site open in the Files panel, open the Directory menu and
               click the Kinetic site name in the menu.

               This opens the Site Setup dialog box for the selected site. You do not need to go through
               the Manage Sites dialog box to edit the settings for the active site.


                                                    Click the site name in the
                                                    Directory menu to open
                                                    the Site Setup dialog box
                                                    for the selected site.


       54 Project 1: Bistro Site Organization

