
Page 20 - CC2017_DW_Look_Inside
P. 20
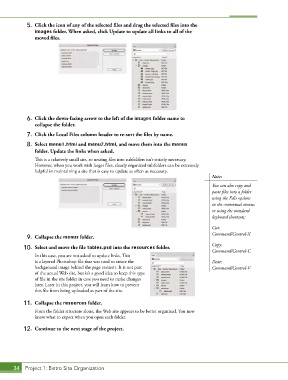
5.  Click the icon of any of the selected files and drag the selected files into the
               images folder. When asked, click Update to update all links to all of the
               moved files.


            6.  Click the down-facing arrow to the left of the images folder name to
               collapse the folder.

            7.  Click the Local Files column header to re-sort the files by name.
            8.  Select menu1.html and menu2.html, and move them into the menus
               folder. Update the links when asked.
               This is a relatively small site, so nesting files into subfolders isn’t strictly necessary.
               However, when you work with larger files, clearly organized subfolders can be extremely
               helpful in maintaining a site that is easy to update as often as necessary.
                                                                                        Note:
                                                                                        You can also copy and
                                                                                        paste files into a folder
                                                                                        using the Edit options
                                                                                        in the contextual menus,
                                                                                        or using the standard
                                                                                        keyboard shortcuts:

                                                                                        Cut:
                                                                                        Command/Control-X
            9.  Collapse the menus folder.
                                                                                        Copy:
           10.  Select and move the file tables.psd into the resources folder.
                                                                                        Command/Control-C
               In this case, you are not asked to update links. This
               is a layered Photoshop file that was used to create the                  Paste:
               background image behind the page content. It is not part                 Command/Control-V
               of the actual Web site, but it’s a good idea to keep this type
               of file in the site folder in case you need to make changes
               later. Later in this project, you will learn how to prevent
               this file from being uploaded as part of the site.

           11.  Collapse the resources folder.
               From the folder structure alone, the Web site appears to be better organized. You now
               know what to expect when you open each folder.

           12.  Continue to the next stage of the project.


       34 Project 1: Bistro Site Organization