


Page 70 - CC2019_PS_Look_Inside
P. 70
15.  Press Return/Enter to fi nalize the transformation.

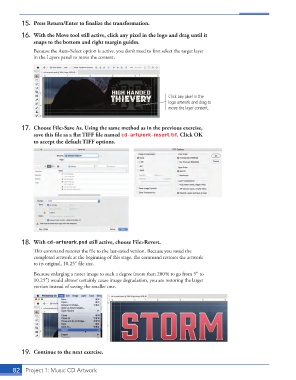
               16.  With the  Move tool still active, click any pixel in the logo and drag until it
                   snaps to the bottom and right margin guides.
                   Because the Auto-Select option is active, you don’t need to fi rst select the target layer
                   in the Layers panel to move the content.


                                                                       Click any pixel in the
                                                                       logo artwork and drag to
                                                                       move the layer content.


               17.  Choose File>Save As. Using the same method as in the previous exercise,
                   save this fi le as a fl at TIFF fi le named cd-artwork-insert.tif. Click OK
                   to accept the default TIFF options.


               18. With cd-artwork.psd still active, choose File>Revert.
                   Th  is command restores the fi le to the last-saved version. Because you saved the
                   completed artwork at the beginning of this stage, the command restores the artwork
                   to its original, 10.25″ fi le size.
                   Because enlarging a raster image to such a degree (more than 200% to go from 5″ to
                   10.25″) would almost certainly cause image degradation, you are restoring the larger
                   version instead of saving the smaller one.


               19.  Continue to the next exercise.


           82     Project 1: Music CD Artwork

