


Page 9 - CC2018_PS_Look_Inside
P. 9
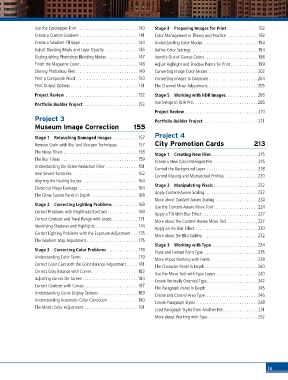
Use the Eyedropper Tool ..........................140  Stage 4  Preparing Images for Print ............. 192
               Create a Custom Gradient ......................... 141  Color Management in Theory and Practice  ............. 193
               Create a Gradient Fill Layer ........................144  Understanding Color Modes........................194
               Adjust Blending Mode and Layer Opacity  ..............146  Define Color Settings.............................194
               Distinguishing Photoshop Blending Modes ............. 147  Identify Out-of-Gamut Colors....................... 198
               Finish the Magazine Cover .........................148  Adjust Highlight and Shadow Points for Print............ 199
               Sharing Photoshop Files........................... 149  Converting Image Color Modes .....................202
               Print a Composite Proof........................... 150  Converting Images to Grayscale .....................204
               Print Output Options ............................. 151  The Channel Mixer Adjustment......................205

               Project Review ............................... 152  Stage 5  Working with HDR Images..............206
               Portfolio Builder Project........................ 153  Use Merge to HDR Pro............................206
                                                                 Project Review ............................... 210
               Project 3                                         Portfolio Builder Project........................ 211
               Museum Image Correction                  155
                                                                 Project 4
               Stage 1  Retouching Damaged Images ........... 157
               Remove Grain with Blur and Sharpen Techniques......... 157  City Promotion Cards           213
               The Noise Filters ................................ 158
                                                                 Stage 1  Creating New Files .................... 215
               The Blur Filters ................................. 159
                                                                 Create a New Color-Managed File  ................... 215
               Understanding the Shake Reduction Filter .............. 161
                                                                 Control the Background Layer  ...................... 218
               Heal Severe Scratches ............................ 162  Control Missing and Mismatched Profiles ..............220
               Aligning the Healing Source  .......................164
               Clone out Major Damage..........................164  Stage 2  Manipulating Pixels ...................222
                                                                 Apply Content-Aware Scaling.......................222
               The Clone Source Panel in Depth ....................168
                                                                 More about Content-Aware Scaling .................. 224
               Stage 2  Correcting Lighting Problems ........... 169
                                                                 Use the Content-Aware Move Tool ................... 224
               Correct Problems with Brightness/Contrast ............. 169
                                                                 Apply a Tilt-Shift Blur Effect ........................227
               Correct Contrast and Tonal Range with Levels ........... 171
                                                                 More about the Content-Aware Move Tool .............227
               Identifying Shadows and Highlights .................. 174
                                                                 Apply an Iris Blur Effect ...........................230
               Correct Lighting Problems with the Exposure Adjustment ... 175  More about the Blur Gallery........................232
               The Gradient Map Adjustment ...................... 175
                                                                 Stage 3  Working with Type ....................234
               Stage 3  Correcting Color Problems ............. 178  Place and Format Point Type  .......................235
               Understanding Color Terms ........................ 179  More About Working with Fonts.....................238
               Correct Color Cast with the Color Balance Adjustment ..... 181
                                                                 The Character Panel in Depth.......................240
               Correct Gray Balance with Curves.................... 183
                                                                 Use the Move Tool with Type Layers ..................240
               Adjusting Curves On-Screen........................184
                                                                 Create Vertically Oriented Type...................... 242
               Correct Contrast with Curves . . . . . . . . . . . . . . . . . . . . . . . 187  The Paragraph Panel in Depth ...................... 245
               Understanding Curve Display Options ................. 189  Create and Control Area Type.......................246
               Understanding Automatic Color Correction .............190
                                                                 Create Paragraph Styles...........................248
               The Match Color Adjustment ....................... 191
                                                                 Load Paragraph Styles from Another File............... 251
                                                                 More about Working with Type ..................... 252


                                                                                                                ix

