


Page 50 - CS6_ID_Look_Inside
P. 50
Stage 3  Placing External Images


               As you saw in the first stage of this project, InDesign incorporates a number of tools for building
               graphics directly in a layout. Of course, most page-layout projects will include files from other
               sources — logos created in Adobe Illustrator, raster-based images created in Adobe Photoshop,
               digital photographs and scans, stock images and illustrations, and many other types of files can be
               incorporated into a larger project.


                   Place an external graPhics File
               Every image in a layout exists in a frame. You can either create the frame first and place
               a file into it, or you can simply place an image and create the containing frame at the
               same time. In this exercise, you are going to place the client’s logo, and transform the
               file to fit into the space to the left of the curved line at the top of the layout.

                 1.  With identity.indd open, make sure nothing is selected in the layout.
                 2.  Choose File>Place. Navigate to the WIP>Crowe folder and select crowe.ai.
                    At the bottom of the dialog box, check the box to Show Import Options.


                 3.  Click Open.
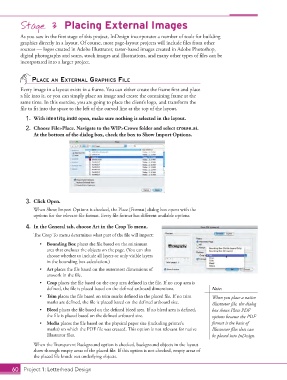
                    When Show Import Options is checked, the Place [Format] dialog box opens with the
                    options for the relevant file format. Every file format has different available options.
                 4.  In the General tab, choose Art in the Crop To menu.

                    The Crop To menu determines what part of the file will import:
                       •  Bounding Box places the file based on the minimum
                          area that encloses the objects on the page. (You can also
                          choose whether to include all layers or only visible layers
                          in the bounding box calculation.)
                       •  Art places the file based on the outermost dimensions of
                          artwork in the file.
                       •  Crop places the file based on the crop area defined in the file. If no crop area is
                          defined, the file is placed based on the defined artboard dimensions.  Note:
                       •  Trim places the file based on trim marks defined in the placed file. If no trim   When you place a native
                          marks are defined, the file is placed based on the defined artboard size.  Illustrator file, the dialog
                       •  Bleed places the file based on the defined bleed area. If no bleed area is defined,   box shows Place PDF
                          the file is placed based on the defined artboard size.             options because the PDF
                       •  Media places the file based on the physical paper size (including printer’s   format is the basis of
                          marks) on which the PDF file was created. This option is not relevant for native   Illustrator files that can
                          Illustrator files.                                                 be placed into InDesign.

                    When the Transparent Background option is checked, background objects in the layout
                    show through empty areas of the placed file. If this option is not checked, empty areas of
                    the placed file knock out underlying objects.

           60 Project 1: Letterhead Design

