Page 23 - Adobe InDesign 2021
P. 23
STAGE 2 / Creating Basic Page Elements

            To complete this project, you need to create a graphic near the bottom of the page, which will serve
            as a container for the client’s images. Fortunately, InDesign includes sophisticated drawing tools that
            can create what you need. Before you begin, however, you should understand the different types of
            elements you will encounter when you design files in InDesign.
               Vector graphics are composed of mathematical descriptions of lines and shapes. Vector graphics
            are resolution-independent; they can be freely scaled and are automatically output at the resolution
            of the output device. The shapes you create in Adobe InDesign, or in drawing applications such as
            Adobe Illustrator, are vector graphics.
               Raster images, such as photographs or files created in Adobe Photoshop, are made up of a grid
            of pixels (rasters or bits) in rows and columns (called a bitmap). Raster files are resolution-dependent;
            their resolution is determined when you scan, photograph, or create the file. You can typically reduce
            raster images, but you cannot significantly enlarge them without losing image quality.
               Line art is a type of raster image made up entirely of 100% solid areas; the pixels in a line-art
            image have only two options: they can be all black or all white. Examples of line art are UPC bar
            codes or pen-and-ink drawings.


                  Create a Simple Line
            Although much drawing work is done in a dedicated illustration program such as
            Adobe Illustrator, you can use drawing tools in InDesign to create vector artwork.
               InDesign includes two tools for creating lines: the Line tool for creating straight
            lines and the Pen tool for creating curved lines called Bézier curves (although you
            can also create straight lines with the Pen tool). In this exercise, you create the most
            basic element possible: a straight line. You then add anchor points to the line to
            create a multi-segment path.

              1.  With gcm-letterhead.indd open, make sure nothing is selected in the
                 file. Review the Properties panel (Window>Properties).
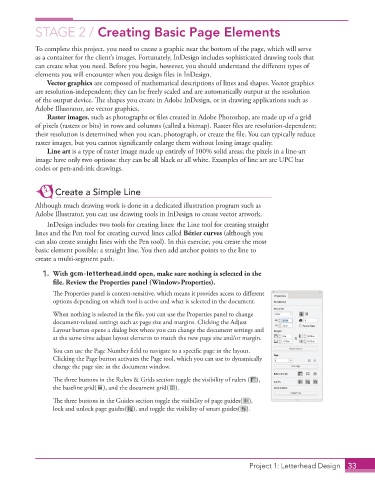
                 The Properties panel is context-sensitive, which means it provides access to different
                 options depending on which tool is active and what is selected in the document.
                 When nothing is selected in the file, you can use the Properties panel to change
                 document-related settings such as page size and margins. Clicking the Adjust
                 Layout button opens a dialog box where you can change the document settings and
                 at the same time adjust layout elements to match the new page size and/or margin.
                 You can use the Page Number field to navigate to a specific page in the layout.
                 Clicking the Page button activates the Page tool, which you can use to dynamically
                 change the page size in the document window.

                 The three buttons in the Rulers & Grids section toggle the visibility of rulers (  ),
                 the baseline grid(  ), and the document grid(  ).

                 The three buttons in the Guides section toggle the visibility of page guides(  ),
                 lock and unlock page guides(  ), and toggle the visibility of smart guides(  ).


                                                                             Project 1: Letterhead Design  33

