


Page 10 - CC2017_AI_Look_Inside
P. 10
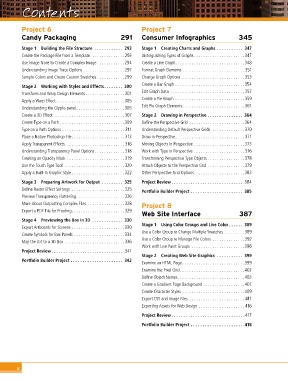
Contents


          Project 6                                        Project 7
          Candy Packaging                          291     Consumer Infographics                    345

          Stage 1  Building the File Structure   . . . . . . . . . . . . 293  Stage 1  Creating Charts and Graphs  . . . . . . . . . . . 347
          Create the Package File from a Template...............293  Distinguishing Types of Graphs......................347
          Use Image Trace to Create a Complex Image   ...........294  Create a Line Graph..............................348
          Understanding Image Trace Options ..................297  Format Graph Elements ........................... 351
          Sample Colors and Create Custom Swatches ............299  Change Graph Options ........................... 353

          Stage 2  Working with Styles and Effects . . . . . . . . 300  Create a Bar Graph ..............................354
                                                           Edit Graph Data ................................ 357
          Transform and Warp Design Elements................. 301
                                                           Create a Pie Graph .............................. 359
          Apply a Warp Effect..............................305
          Understanding the Glyphs panel.....................305  Edit Pie Graph Elements........................... 361
          Create a 3D Effect...............................307  Stage 2  Drawing in Perspective  . . . . . . . . . . . . . . . 364
          Create Type on a Path ............................309  Define the Perspective Grid ........................364
          Type on a Path Options ........................... 311  Understanding Default Perspective Grids  .............. 370
          Place a Native Photoshop File....................... 313  Draw in Perspective.............................. 371
          Apply Transparent Effects.......................... 316  Moving Objects in Perspective ...................... 373
          Understanding Transparency Panel Options............. 318  Work with Type in Perspective ...................... 376
          Creating an Opacity Mask ......................... 319  Transforming Perspective Type Objects ................ 378
          Use the Touch Type Tool .......................... 320  Attach Objects to the Perspective Grid ................ 379
          Apply a Built-In Graphic Style ....................... 322  Other Perspective Grid Options......................383
          Stage 3  Preparing Artwork for Output   . . . . . . . . . 325  Project Review  . . . . . . . . . . . . . . . . . . . . . . . . . . . . . . 384
          Define Raster Effect Settings ....................... 325  Portfolio Builder Project  . . . . . . . . . . . . . . . . . . . . . . 385
          Preview Transparency Flattening..................... 326
          More About Outputting Complex Files ................ 328  Project 8
          Export a PDF File for Proofing.......................329
                                                           Web Site Interface                       387
          Stage 4  Previewing the Box in 3D   . . . . . . . . . . . . . 330
          Export Artboards for Screens .......................330  Stage 1  Using Color Groups and Live Color  . . . . . . 389
                                                           Use a Color Group to Change Multiple Swatches .........389
          Create Symbols for Box Panels ......................334
          Map the Art to a 3D Box ..........................336  Use a Color Group to Manage File Colors ..............392
                                                           Work with Live Paint Groups .......................396
          Project Review  . . . . . . . . . . . . . . . . . . . . . . . . . . . . . .  .341
                                                           Stage 2  Creating Web Site Graphics   . . . . . . . . . . . 399
          Portfolio Builder Project  . . . . . . . . . . . . . . . . . . . . . . 342  Examine an HTML Page ...........................399

                                                           Examine the Pixel Grid............................402
                                                           Define Object Names.............................403
                                                           Create a Gradient Page Background ..................407
                                                           Create Character Styles ...........................409
                                                           Export CSS and Image Files ........................ 411
                                                           Exporting Assets for Web Design .................... 416
                                                           Project Review  . . . . . . . . . . . . . . . . . . . . . . . . . . . . . .  .417

                                                           Portfolio Builder Project  . . . . . . . . . . . . . . . . . . . . . .  .418


        x

