


Page 43 - Adobe Dream Viewer CC 2020
P. 43
Uploading Files to a Server

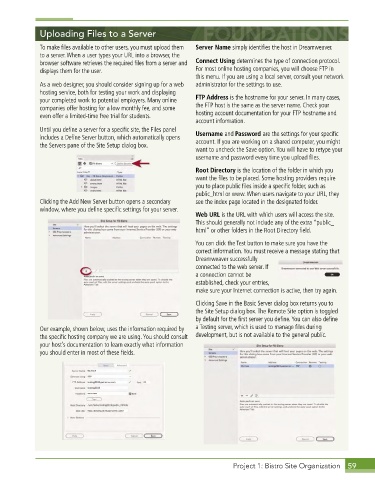
             To make files available to other users, you must upload them   Server Name simply identifies the host in Dreamweaver .
             to a server . When a user types your URL into a browser, the
             browser software retrieves the required files from a server and   Connect Using determines the type of connection protocol .
             displays them for the user .                    For most online hosting companies, you will choose FTP in
                                                             this menu . If you are using a local server, consult your network
             As a web designer, you should consider signing up for a web   administrator for the settings to use .
             hosting service, both for testing your work and displaying
             your completed work to potential employers . Many online   FTP Address is the hostname for your server . In many cases,
             companies offer hosting for a low monthly fee, and some   the FTP host is the same as the server name . Check your
             even offer a limited-time free trial for students .  hosting account documentation for your FTP hostname and
                                                             account information .
             Until you define a server for a specific site, the Files panel   Username and Password are the settings for your specific
             includes a Define Server button, which automatically opens   account . If you are working on a shared computer, you might
             the Servers pane of the Site Setup dialog box .
                                                             want to uncheck the Save option . You will have to retype your
                                                             username and password every time you upload files .

                                                             Root Directory is the location of the folder in which you
                                                             want the files to be placed . Some hosting providers require
                                                             you to place public files inside a specific folder, such as
                                                             public_html or www . When users navigate to your URL, they
             Clicking the Add New Server button opens a secondary   see the index page located in the designated folder .
             window, where you define specific settings for your server .
                                                             Web URL is the URL with which users will access the site .
                                                             This should generally not include any of the extra “public_
                                                             html” or other folders in the Root Directory field .

                                                             You can click the Test button to make sure you have the
                                                             correct information . You must receive a message stating that
                                                             Dreamweaver successfully
                                                             connected to the web server . If
                                                             a connection cannot be
                                                             established, check your entries,
                                                             make sure your Internet connection is active, then try again .
                                                             Clicking Save in the Basic Server dialog box returns you to
                                                             the Site Setup dialog box . The Remote Site option is toggled
                                                             by default for the first server you define . You can also define
             Our example, shown below, uses the information required by   a Testing server, which is used to manage files during
             the specific hosting company we are using . You should consult   development, but is not available to the general public .
             your host’s documentation to learn exactly what information
             you should enter in most of these fields .


                                                                        Project 1: Bistro Site Organization  59

